
Edge banding machine downtime disrupts production and increases rework costs in your shop. This guide explains how to maintain your machine and prevent small issues, including downtime causes and troubleshooting methods.
1. Common Edge Banding Defects: Causes and Solutions
This section covers common defects organized by machine station. Follow these practical steps to diagnose and resolve issues on the shop floor.
1.1 The Feeding System
- Defect 1: Feeding Skew and Drift
Misaligned guide rails, uneven pressure beams, or worn rubber rollers cause edge banding machine panel drifting problem. This movement destroys the reference alignment, leading to skewed edges and inaccurate downstream trimming.
To fix this, you can clean rubber track pads regularly with denatured alcohol to restore friction stability, and recalibrate the pressure beam to ensure uniform clamping force across the full panel width.
- Defect 2: Panel Edge Damage
Panel edge damage is usually caused by upstream cutting inaccuracies such as saw blade misalignment, CNC spindle vibration, or dull tooling. These issues often appear in feeding problems you may trace back to upstream processing errors, creating stepped, chipped, or wavy edges.
Run independent pre-milling tests to isolate the issue, and replace or resharpen diamond PCD cutters when vertical tolerance exceeds 0.05mm. Ensure panel edges are flat before they reach the gluing station.
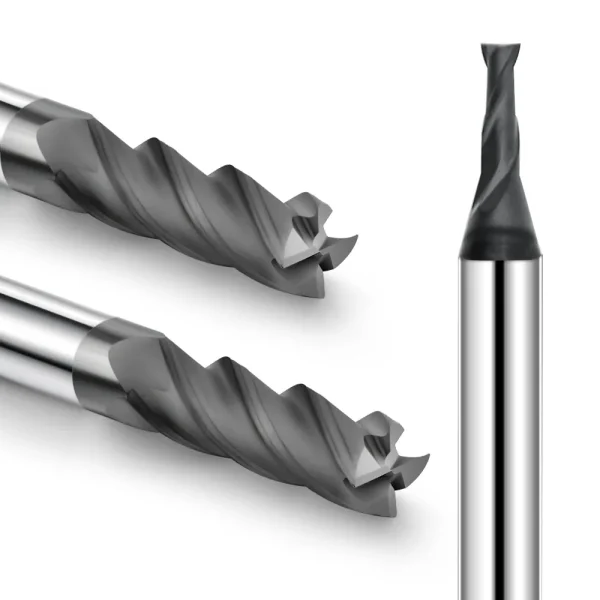
Diamond PCD Pre Milling Cutters for Edge Bander
1.2 The Glue System
- Defect 3: Black Lines on White Panels
Glue overheating is one of the most common edge banding machine glue problems in production lines. The overheated glue oxidizes and carbonizes, forming black particles that ruin white panels.
You should turn the glue pot down to a standby temperature of around 120°C during downtime. EVA glue oxidizes rapidly above 130°C. Drop the pot to 120°C during standby to prevent hardening while ensuring a fast reheat time when production resumes.
- Defect 4: Intermittent Glue Supply
Steel tools scratch the Teflon coating. Carbonized glue builds up in these scratches, eventually clogging the discharge channels you rely on for stable flow.
To prevent this damage, use brushes only. Follow up with a thermal and chemical flush to clean out any remaining residue

Edge Bander Glue Pot Brass Cleaning Brush
1.3 The Pressing System
- Defect 5: Poor Adhesion and Peeling
Poor adhesion is often linked to edge banding machine pressure roller misalignment. Uneven rollers or poor vertical alignment cause the glue thickness to fluctuate. Any misalignment reduces the contact area between the tape and the panel edge. As the glue cools, the weak bond fails, causing delayed peeling.
If the vertical deviation exceeds 0.05 mm, use the no-glue long board baseline calibration method with a dial indicator to realign the pressing rollers.
- Defect 6: Thick Glue Lines
The pressure wheels may lose force or run at a different speed than the conveyor belt in your machine setup. This speed mismatch traps excess glue, forcing it to squeeze out onto the panel surface rather than forming a thin, uniform layer.
Check the spring compression regularly and reset the roller pressure. You must also synchronize the motor frequencies so the conveyor and pressure rollers move at the same speed.
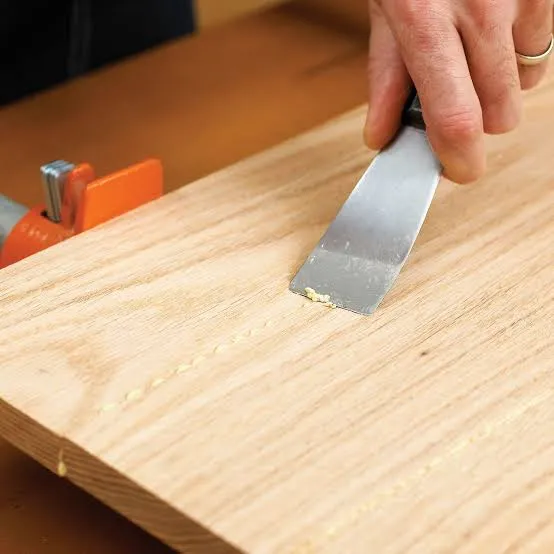
Scraping Excess Hot Melt Glue Squeeze Out
1.4 The Trimming & Finishing System
- Defect 7: Rough Trimming
Blunt cutter teeth or high-frequency spindle vibrations tear the newly applied edge tape. This creates rough, fuzzy trimming and ugly edge burrs on the finished board. If ignored, it often leads to full edge banding machine repair.
Inspect tool geometry under high magnification. Always send your solid carbide or diamond PCD tools for professional grinding after processing 50,000 linear meters.
- Defect 8: White Stress Marks on Plastic Edges
Dull cutters crush the tape, leaving white stress marks on the plastic. Glue residue on the tracing shoes drags and collects PVC chips, packing the blades to accelerate wear.
Grind cutters regularly to keep them sharp, and clean tracing shoes daily with citrus solvents to eliminate resistance.
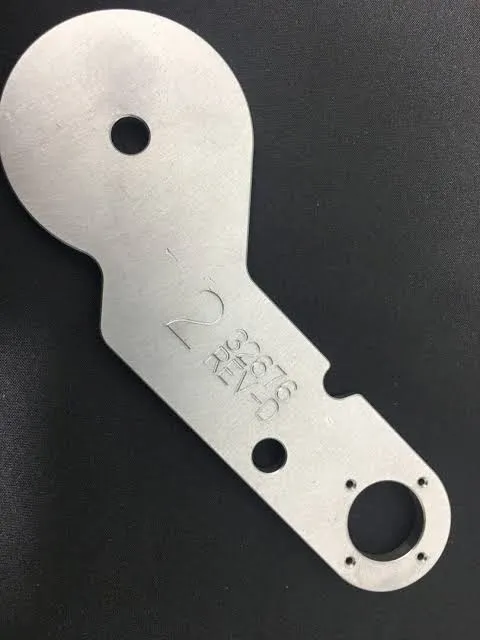
Edge Banding Machine Trimming Station Tracing Shoe
Defect 9: Broken Tape Corners
When shop temperatures drop below 18°C, PVC/ABS tape becomes brittle. High-speed end-cutting blades can shatter these cold edges, breaking panel corners in your production line.
To fix this, adjust pneumatic flow control valves to slow down the cylinder speed for a smooth, gentle cut. You should also install infrared pre-heating lamps at the machine front to warm up the tape before cutting.
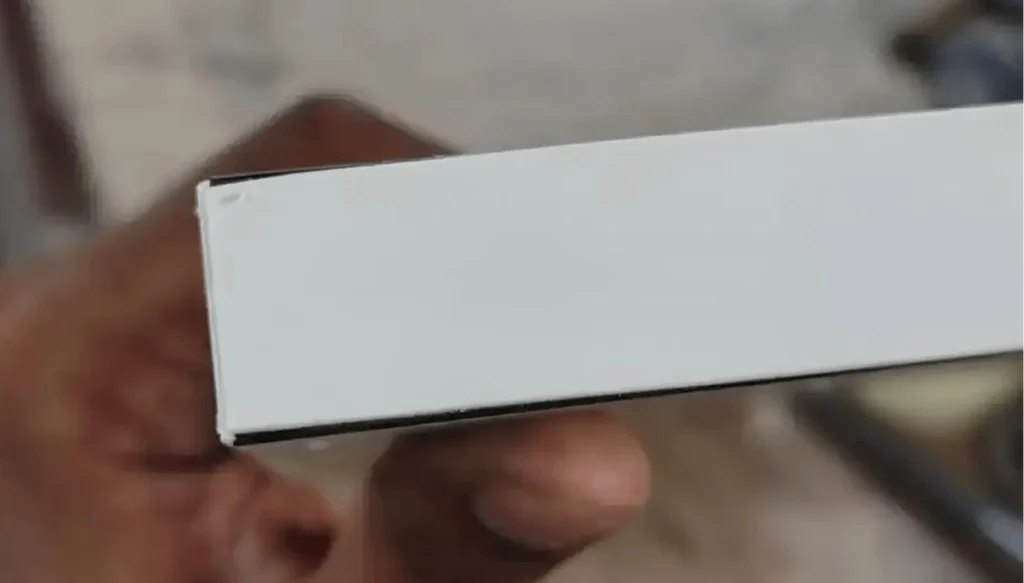
Edge Banding Machine Panel Broken Corner Defect
1.5 The Control & Buffing System
- Defect 10: Buffing Wheels Smearing Glue
Excess hot-melt glue squeezes out from the pressing station and moves down the line to the buffing unit. High-speed friction from the cloth wheels generates intense heat, remelting this loose residue. The wheels smear the liquefied glue across the decorative panel.
To fix this, check your spray dosing valves. Make sure the front release agent and rear cleaning agent nozzles are not clogged. These fluids stop glue from sticking and neutralize residues.
If buffing wheels are contaminated, keep the station running. Scrape off the hardened compound or glaze using a wheel rake, or shut down the station to replace the cloth wheel if the contamination is severe.
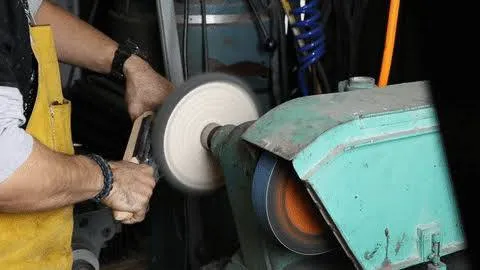
Edge Bander Cloth Buffing Wheel Cleaning Rake
2. Fault Diagnosis Steps
Use these practical troubleshooting steps to pinpoint and fix edge banding defects. These steps are commonly used in edge banding machine repair on factory floors.
2.1 Dynamic Troubleshooting
Step 1: Isolate Gluing and Pressing
You should turn off all downstream motors, including end-cutting, trimming, scraping, and buffing. Run a raw test panel through only the gluing and pressing zone. Inspect the edge band. If the bond is strong, the upstream foundation is solid.
Step 2: Check Conveyor and Beam
Stop the feeding chain. Use a digital caliper to measure the gap between the top rubber rollers and the bottom track pads. Check for vertical deviation across the beam. Clean any glue buildup off the track pads and ensure the driving chain tension is tight to prevent slipping.
Step 3: Activate Units
Power on the downstream stations one at a time in the production sequence. First, turn on the end-cutting saws and run a board. If the cut is clean, turn on the rough trimming unit and test again. This method helps you pinpoint which station has a defect.
Step 4: Verify Sensors and Controls
Check the PLC interface for error codes. Open the hood and inspect the infrared sensors and pneumatic switches at the failing station. Clean dust off the lenses. Verify that the solenoid valves fire without delay when the panel blocks the sensor beam.
2.2 Static Machine Calibration
Perform this calibration during initial machine commissioning, after replacing cutter systems or board thickness changes, or when trimming quality becomes unstable.
Step 1: Feed the Calibration Board
Select a perfectly straight, pre-milled, dry MDF or particleboard measuring 2 to 2.5 meters. Program the machine to feed the board into the conveyor track without activating the glue roller or feeding edge tape.
Step 2: Establish the Datum Axis
Hit the emergency stop button the exact millisecond the long board spans across all finishing stations simultaneously. Keep the pressure beam fully clamped. This stationary board creates an unyielding, 0.00mm physical baseline.
Step 3: Align with a Dial Indicator
Mount a magnetic digital dial indicator onto the iron chassis frame. Slide the probe over the board surface and reset the gauge to zero. Adjust every tracing shoe, copy wheel, and cutter edge against this zeroed reference.
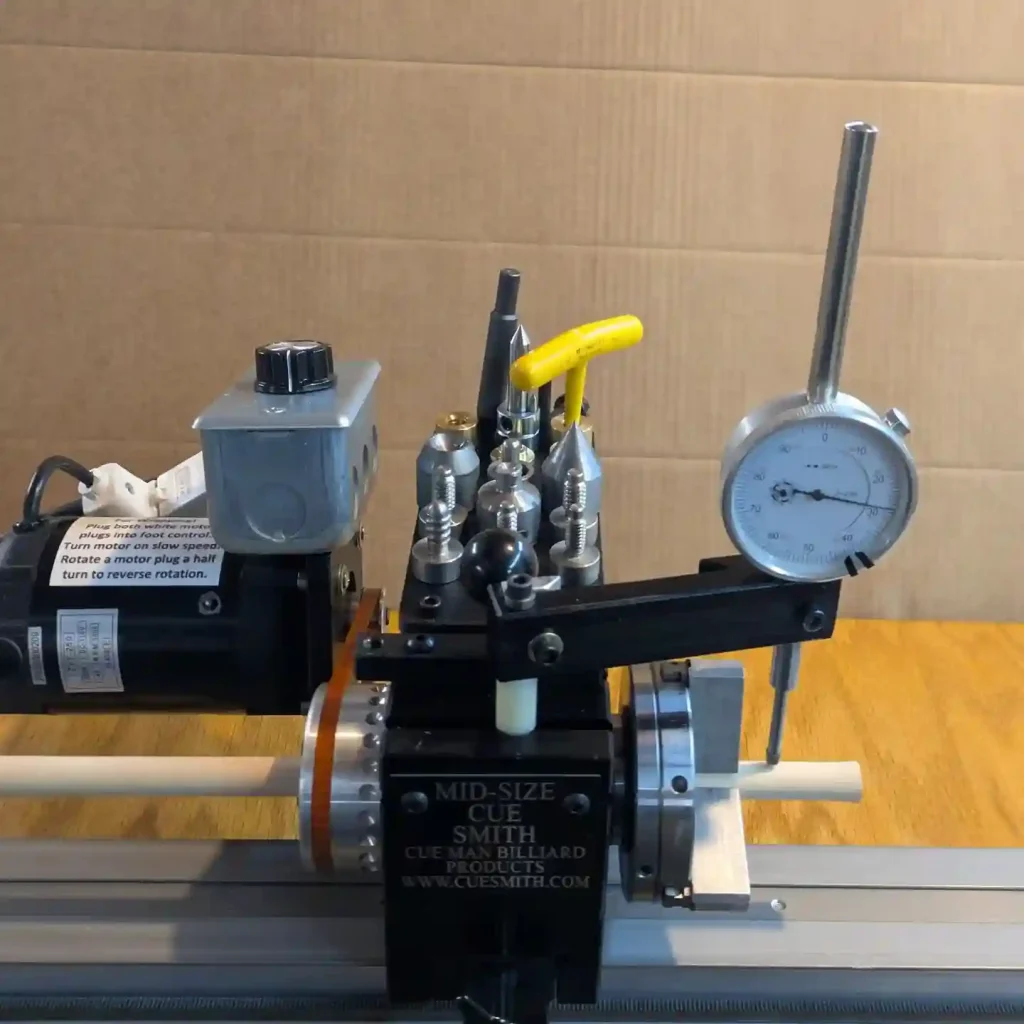
Edge Banding Machine Dial Indicator Static Calibration
Critical Mechanical Tolerances:
Ensure tracing shoes lightly contact the board without pressing into the surface. The cutting tip of profiling cutters must align parallel to the board edge, keeping a micro-gap matching edge tape thickness. Vertical deviation between pressing or glue rollers and the baseline must not exceed 0.05 mm.
2.3 Comparison of Dynamic Troubleshooting and Static Calibration
| Parameter | Dynamic Troubleshooting | Static Calibration |
| Nature | Dynamic troubleshooting logic and diagnostic sequence | Static physical alignment and mechanical zeroing |
| Primary Objective | Identify which specific station causes the edge defect | Align all stations to a single horizontal baseline after identifying instability |
| Machine Status | Running; panels feed continuously through the machine | Stopped; emergency stop is engaged with a panel locked inside |
| Required Tools | PLC control panel, station pneumatic switches, motor power controls | Magnetic digital dial indicator, a 2- to 2.5-meter straight baseline board |
| Operational Core | Isolate one variable at a time by sequentially testing each station | Eliminate variables by aligning all components to the absolute physical zero point |
3. Edge Banding Machine Maintenance Checklist
3.1 Daily Maintenance
Clean residual glue off the pressure rollers and tracking wheels.
Maintain a minimum extraction speed of 28 meters per second at the extraction hoods. Lower speeds fail to lift heavy wood chips, causing guide rail wear, while higher speeds waste power and create excessive noise.
Maintain pressure stability and use ISO VG 32 oil. Its specific viscosity atomizes to lubricate fast-moving cylinders without sticking valves or damaging seals.
3.2 Weekly and Monthly Care
Check transmission chain tension and adjust the track alignment to stop panel drifting. Wipe infrared sensor lenses and micro switches to avoid false triggering caused by dust buildup.
Clean and lubricate the linear guide rails with less grease. Too much grease holds wood dust. The dust mixes with grease and turns into an abrasive paste. This paste wears the rails and can cause the slider to jam.
3.3 Seasonal Deep Maintenance
Use cleaning granules in the glue pot to remove adhesive buildup and carbonized residue. Measure the resistance of each heating element. This helps you find weak heating zones early. Fixing them in time can prevent glue from breaking down or changing quality.
4. Environment and Material Tips
4.1 Temperature Control
Keep the workshop above 18°C. Cold rooms make PVC edge bands brittle and easy to crack. Cold wood panels also cool hot melt glue too fast. This ruins the bond and causes edge peeling.
4.2 Material Adjustments
Edge Banding Material Adjustment Comparison
| Material | Cutting Tool Settings | Buffing Wheel Setup | Processing Liquid Usage |
| PVC | Sharp cutting edge, 10 to 15 degree tilt angle for fast shear and minimum heat. | 10 to 15 degree angle, moderate pressure to avoid friction heat that melts plastic. | Standard dosage; uses fast-drying alcohol cleaners to dissolve squeeze-out glue. |
| ABS | Highly sharp PCD cutters, high shear angle to prevent edge whitening and material rebound. | Flatter angle between 5 and 10 degrees, light pressure; often uses anti-static cloth wheels. | Standard dosage; requires quick-evaporating solvents that do not damage plastic. |
| Wood Veneer | Large helix or dual-reverse helix cutters; applies downward force to stop grain tearing. | Parallel or low angle under 5 degrees, higher pressure; brushes away loose fibers along the grain. | Reduced dosage at 30 percent; must use silicon-free formulas to avoid paint rejection and wood stains. |
4.3 Spare Parts Inventory
Keep backup parts in stock to avoid sudden factory downtime. Stock extra sensors, limit switches, end-trimming saw blades, tracing shoes, and rubber track pads. Replace worn parts before they fail completely.
5. Repair vs Replacement ROI
5.1 Repeat Maintenance Failures
Old machines lose structural rigidity over time. This causes constant vibration and severe precision drift. Replacing individual small parts cannot fix this deep wear.
5.2 Hidden Financial Losses
Old equipment creates high material scrap rates and expensive manual rework costs. Older machines also lack automatic sleep modes. The glue cooks and creates heavy carbon buildup. These issues cause a massive daily cash drain, proving that the true cost of ownership goes way beyond the initial edge banding machine price.
5.3 Smart CNC Upgrades
Modern upgrades like the Blue Elephant E-70J feature a touchscreen for quick process switching. Independent air paths and tracking motion stabilize trimming. These advanced systems prevent the precision drift common in older, manual machinery.
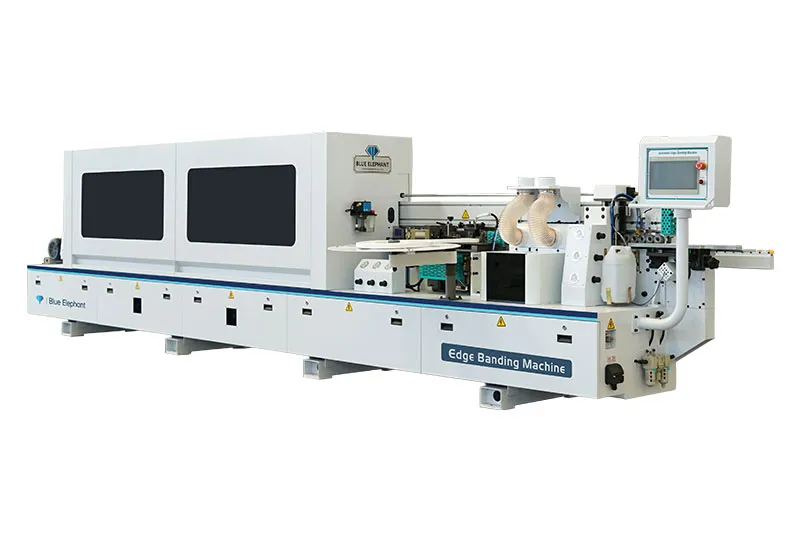
Blue Elephant E70J Automatic Edge Banding Machine
6. FAQ
Q1: Can I Use Standard Petroleum Solvents to Clean the Rubber Track Pads?
No. These solvents soften the rubber pads. Soft pads slip during high-speed feeding and ruin panel alignment. You should use denatured alcohol.
Q2: Why Should I Not Use Compressed Air to Clean the Electrical Cabinet?
Air blasts force conductive wood dust deep into relays and cause short circuits. Use an industrial vacuum to safely remove dust instead.
Q3: Can I Run PUR Glue in a Standard Open EVA Glue Pot?
No. PUR reacts with moisture in the air and cures permanently. It turns into a solid plastic brick when cooled, which completely destroys your gluing unit.
Q4: How to Clean Automatic Edge Banding Machine Pre-Milling Cutters to Remove Resin Buildup?
Do not scrape the blades. You should remove the cutters and soak them in a specialized pitch and resin remover. Wipe away the softened residue with a soft cloth to maintain a sharp cutting edge without chipping the diamond tips.
Q5: Why Is My Edge Bander Pressure Roller Spring Tension Dropping During High-Speed Production?
Continuous mechanical vibration and heat cause fatigue in standard springs over time. Inspect the springs monthly for loss of tension, and replace them with heavy-duty replacements.
7. Final Thoughts
Well-maintained machines reduce downtime, improve edge quality, and stabilize production costs. Most issues come from system imbalance, not single failures.
We design and supply industrial-grade edge banding machine solutions built for stable performance and easy maintenance for global woodworking factories and distributors.
More related blogs:
- What is Edge Banding Machine?
- Edge Banding Solutions for MDF Furniture
- How Cabinet Edge Banding Improves Furniture Quality?
- How Furniture Factories Edge Band Plywood Efficiently?
- 5 Types of Edge Banding for Modern Furniture Production